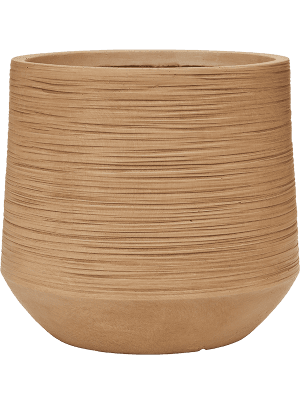
Baq Dune
Darcy Brown Beige
6DUNBR60B
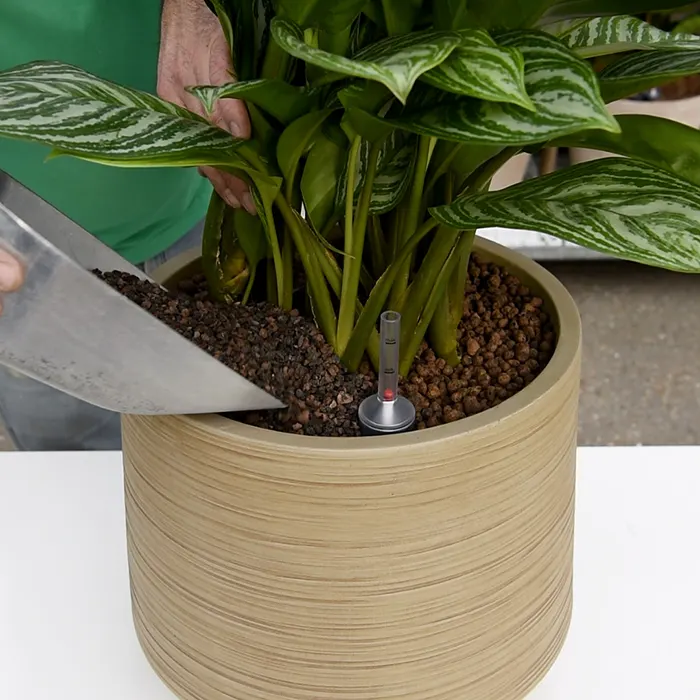
Do you want to get started with creating plant-pot combinations in hydroculture? It's easy if you follow the right steps and work with good materials. In this blog, we list the essentials and explain – with the help of a detailed instructional video – step by step how to assemble hydroculture.
View the detailed instruction video directly or see below the requirements and step-by-step plan to start assembling your hydroculture plant-pot combination immediately.
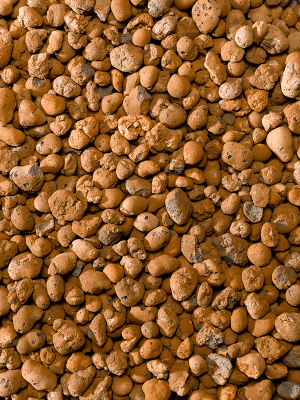
Hydrogranules have the ability to retain water and nutrients and release them slowly to the plant. The hydrogranules in our range are RHP certified, guaranteeing an optimal start for cultivation. The RHP certification assures that the substrate meets the right quality requirements with a pH and EC neutral value.
Many plants from our range are available in hydroculture. Choose a plant that best suits your project. We use the Aglaonema 'Stripes'. The roots of hydroculture plants are adapted to extract oxygen and nutrition from the water. Read more about this here.
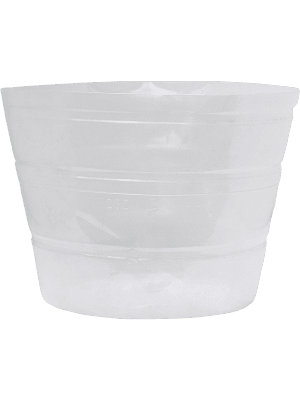
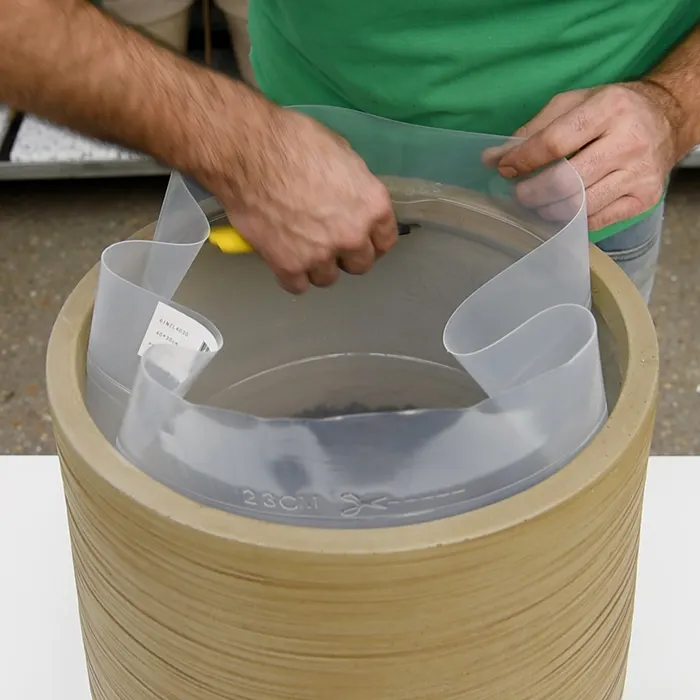
To make the planter completely watertight, it is necessary to use a liner. The flexible universal liners from Baq are available in various sizes and are suitable for planters with a diameter of 10 to 80 centimetres. The liners have a cutting edge at hydroculture height (23 centimetres), ensuring that the plant and the water level indicator are always at the right height in the planter. Our range also includes flexible square and rectangular liners and various rigid liners.
Almost every planter from our range can be used for setting up a hydroculture plant. All colours, sizes, shapes, and materials are suitable. If the planter is not watertight, you can use a liner (see below). For the instructional video, we used a planter from the Baq Dune collection.
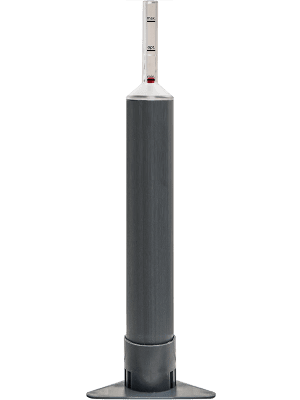
In hydroculture, the method of watering is the same for almost all plants. You use a water level indicator that shows when the plant needs water again. Water the plant until the water level indicator shows optimal (OPT). Note: the water level indicator always reacts with some delay, and it can happen that grit blocks the water level indicator. Therefore, tap the water level indicator if it does not respond as expected.
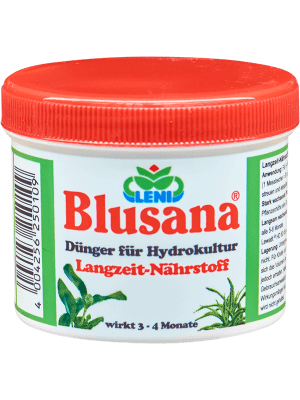
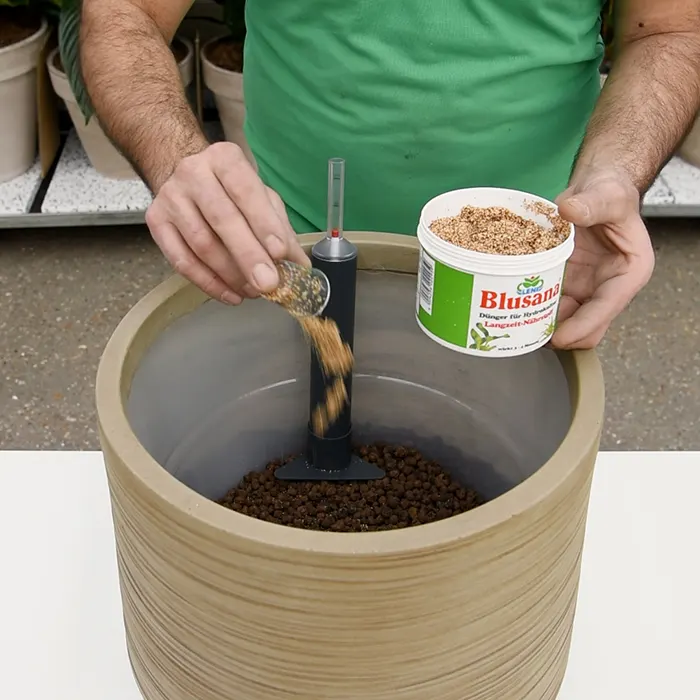
A nutritious base is important for the plant. Therefore, it is best to place solid hydroculture nutrition (HD5) at the bottom of the planter during assembly. This forms a good basis for the first six months. After a period of six months, the plant needs liquid nutrition with each watering.
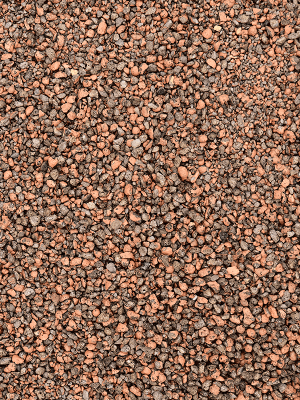
Hydrogranules can turn white over time. This is not mould and is completely harmless to the plant. A top layer of, for example, vulcastrat or decorative stones prevents the discolouration from being visible and gives the combination a luxurious look.
The water level indicator should stick out a few centimetres above the grow pot of the plant.
The liner should be placed just below the rim of the planter.
The liners from Baq contain a handy cutting edge at 23 cm, making them very easy to cut to size for hydroculture.
With a layer of hydrogranules at the bottom of the liner, you can create an extra water buffer. This means you need to water less frequently.
It is important to position the water level indicator at the same height as the culture pot so that it measures the moisture content at the bottom of the roots.
For large plants (>1.50 metres) use 4 tablespoons of solid hydroculture nutrition; for smaller plants, 2 tablespoons are sufficient.
Note: in hydroculture, always leave the plant in the grow pot.
You can use a top layer of, for example, decorative stones, broken hydrogranules, or vulcstrat for decoration.