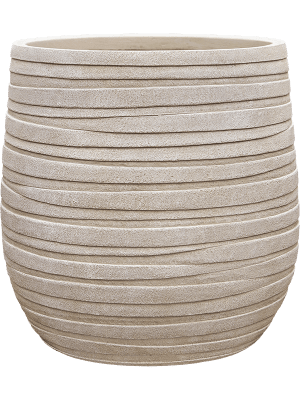
Baq Tornado
Darcy Beige
6TORDB118
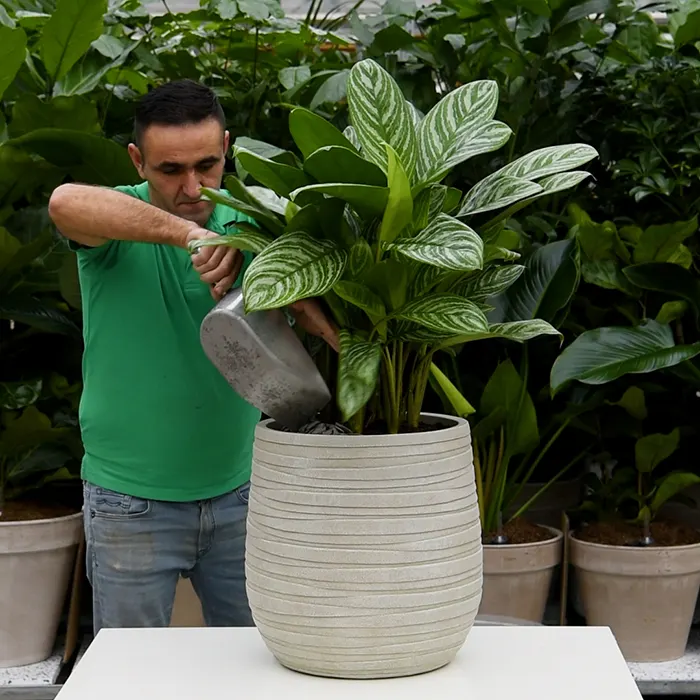
Même avec des plantes en pot, vous pouvez profiter des avantages de l'hydroculture en les assemblant selon le système semi-hydro. Dans cet article, nous vous dirons ce dont vous avez besoin et expliquerons – avec l'aide d'une vidéo d'instruction claire et d'un plan étape par étape – comment vous pouvez commencer immédiatement.
Regardez directement la vidéo d'instruction détaillée ou consultez ci-dessous les nécessités et le plan étape par étape pour commencer immédiatement à assembler votre combinaison plante-pot semi-hydroculture.
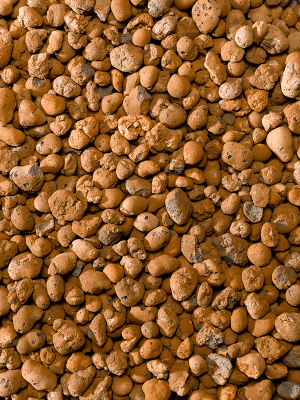
Les hydro-granulés ont la capacité de retenir l'eau et les nutriments et de les libérer lentement à la plante. Les hydro-granulés de notre gamme sont certifiés RHP, assurant un démarrage optimal pour la culture. Le label RHP garantit que le substrat répond aux exigences de qualité adéquates avec une valeur pH et EC neutre.
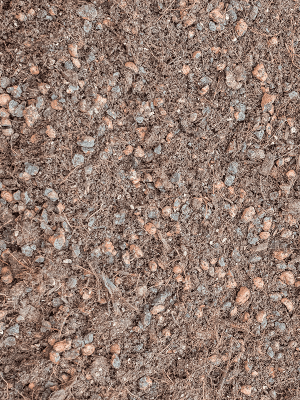
Nous vous conseillons d'utiliser du terreau Peat free, qui ne contient pas de tourbe. Avec l'ajout d'hydro-granulés broyés, ce substrat a encore une capacité d'absorption d'eau suffisante. Lisez ici plus sur les avantages de ce terreau sans tourbe.
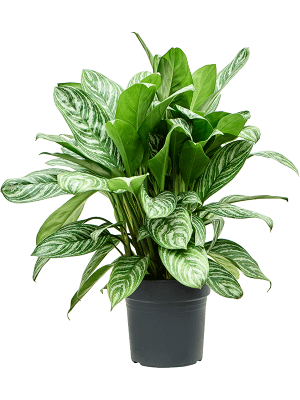
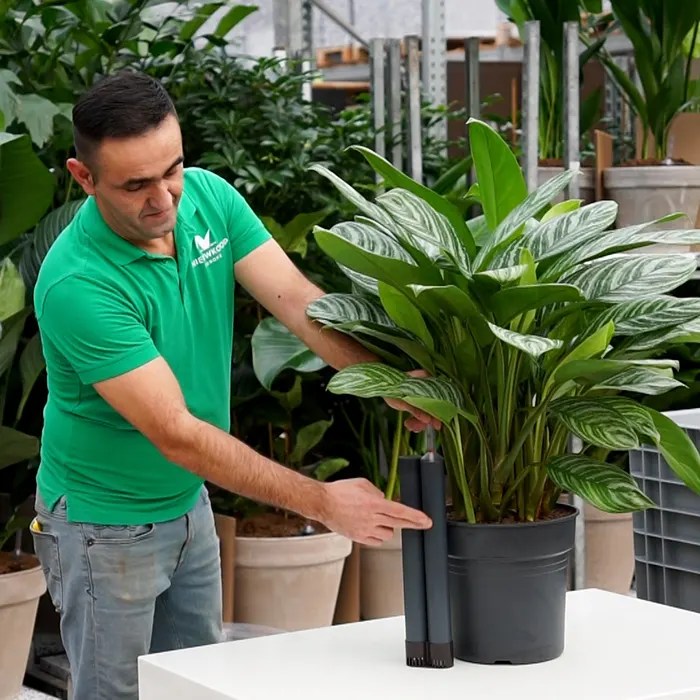
Choisissez une plante de notre large gamme qui correspond le mieux à vos besoins. Nous utilisons l'Aglaonema 'Stripes'.
Pour cette instruction, nous avons utilisé un bac de la collection Baq Tornado, mais presque tous les bacs à plantes de notre gamme complète conviennent. Si le bac à plantes n'est pas étanche, vous pouvez utiliser une pochette (voir ci-dessous).
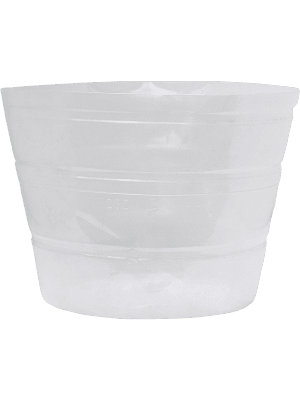
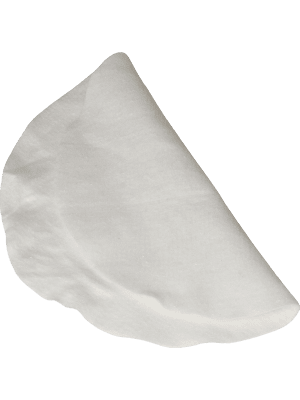
Une pochette est nécessaire pour rendre le bac à plantes complètement étanche. Les pochettes universelles pratiques de Baq sont disponibles en différentes tailles et peuvent être coupées à la taille.
Avec du feutre, vous pouvez séparer les hydro-granulés du terreau. Vous pouvez acheter le feutre coupé à la taille, mais il est également possible d'acheter du feutre en rouleau et de le couper vous-même à la taille souhaitée.
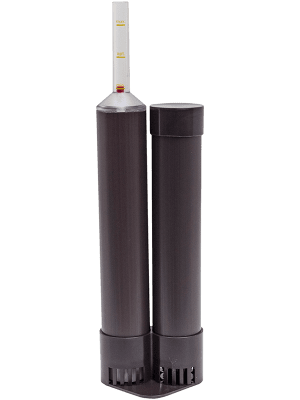
L'utilisation d'un indicateur de niveau d'eau rend la méthode d'arrosage en semi-hydroculture pratiquement la même pour toutes les plantes. Arrosez la plante jusqu'à ce que l'indicateur de niveau d'eau indique optimal (OPT). Notez que l'indicateur de niveau d'eau réagit toujours avec un certain retard, et il se peut que des débris bloquent l'indicateur de niveau d'eau. Tapotez donc sur l'indicateur de niveau d'eau s'il ne réagit pas comme prévu.
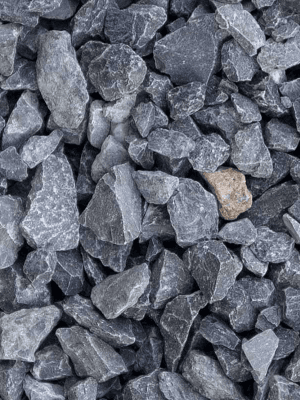
Donnez à votre plante assemblée un aspect luxueux avec un surfaçage de, par exemple, pierres décoratives.
La longueur correcte de l'indicateur de niveau d'eau est déterminée en mesurant la hauteur du pot et en ajoutant environ 5 cm. L'indicateur de niveau d'eau doit dépasser la plante d'environ 5 cm pour laisser suffisamment d'espace pour le tampon d'eau.
Avec l'indicateur de niveau d'eau, mesurez la hauteur de remplissage dans le bac à plantes où la pochette sera placée.
La pochette doit arriver juste sous le bord du bac à plantes et doit s'ajuster étroitement. La pochette peut être facilement coupée à la taille avec un couteau.
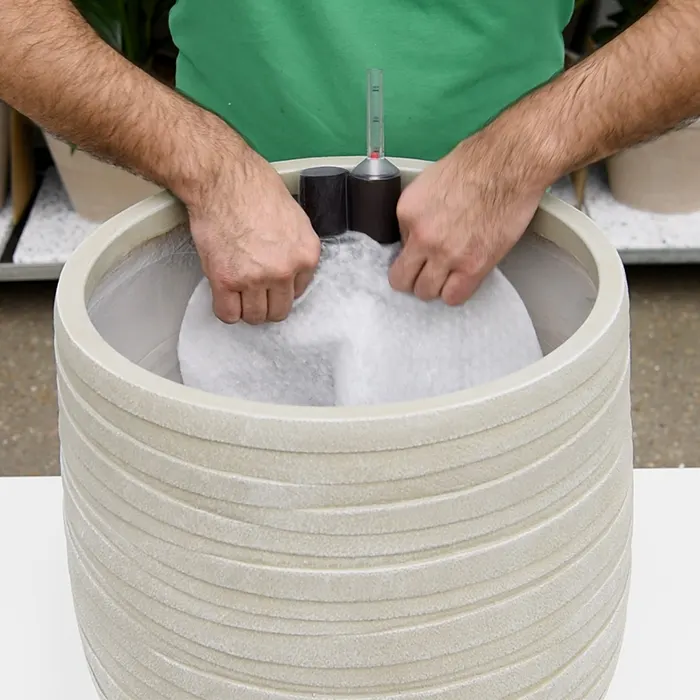
L'indicateur de niveau d'eau et le tuyau de remplissage sont placés au fond de la pochette.
Versez des hydro-granulés dans le bac pour créer un tampon d'eau de 4 à 5 cm.
Avec du feutre ou un tissu de séparation, séparez le terreau des hydro-granulés. Faites une ouverture dans le tissu pour l'indicateur de niveau d'eau et le tuyau de remplissage.
Remplissez bien l'espace restant dans le bac avec du terreau. Si vous le souhaitez, vous pouvez créer un surfaçage avec, par exemple, des pierres décoratives.
Après la plantation, arrosez la plante de manière régulière jusqu'à ce que l'indicateur de niveau d'eau indique optimal. Après chaque mois, ajustez le ratio d'eau que vous donnez depuis le haut et à travers le tuyau de remplissage. Après un mois, ceci est 80% du haut et 20% à travers le tuyau de remplissage; après deux mois 60/40, après trois mois 40/60, etc. De cette manière, la plante est encouragée à laisser les racines percer le tissu de séparation. Lorsque vous arrosez complètement à travers le tuyau de remplissage, il est préférable de donner encore un petit jet d'eau du haut pour éviter que le terreau ne sèche.